
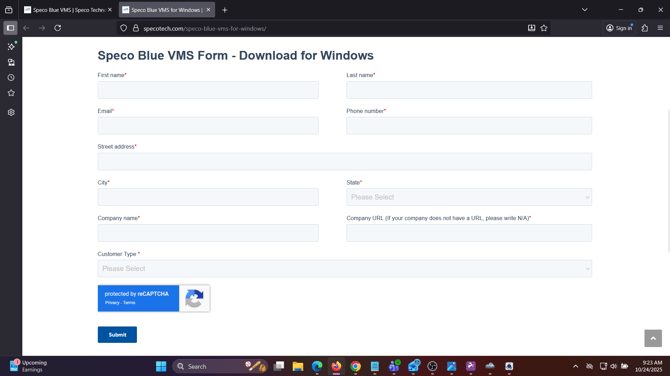
Where and How to download Speco Blue VMS Lite.
- Go to www.specotech.com
- Select Solutions > Management Software > Speco Blue VMS
- Select Solutions > Management Software > Speco Blue VMS

- Scroll down and select "Lite for Windows/Mac"

- Enter your information into the form. You will receive an email shortly with your download link.
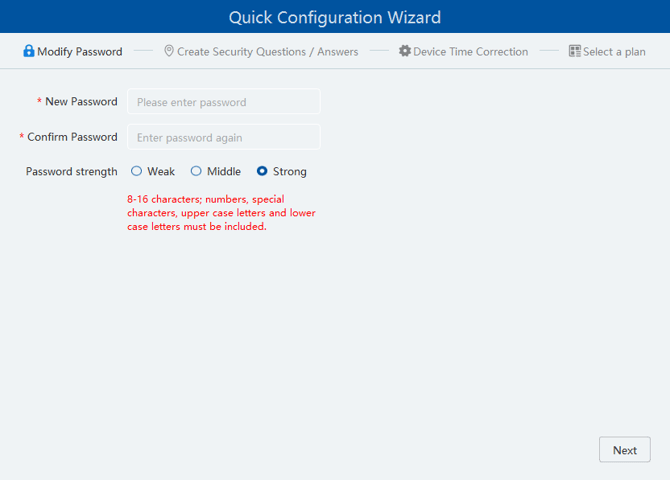
Getting Logged In
- The default username/password is
- username - admin
- password- 1234
- You will then be prompted to create a new password. Click Next when finished.
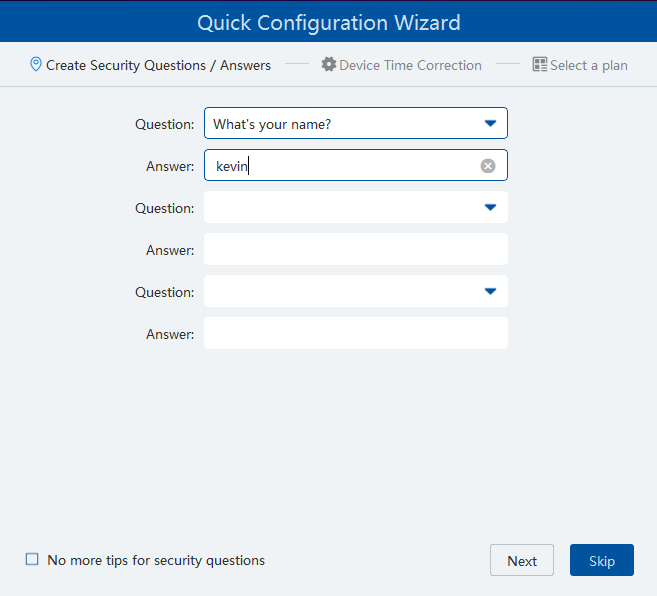
- Enter some backup questions for password recovery
- Select "Device Time Correction" if you want to sync computer time with recorders and time zones
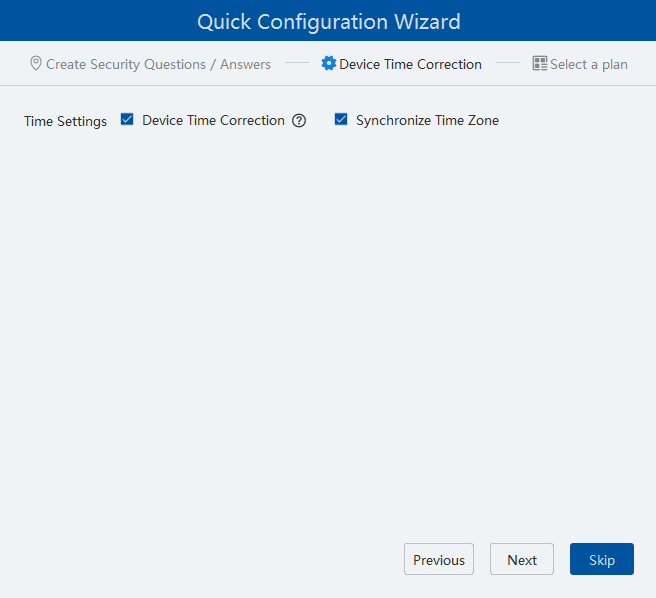
- Keep plans selected, then click Finish

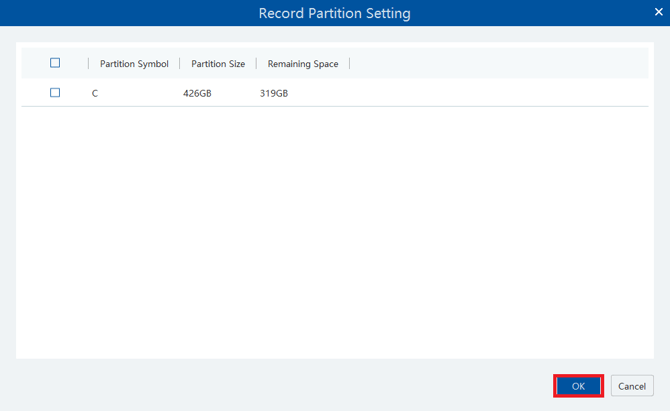
- You will be asked if you would like to partition your hard drive for recording storage. It is NOT recommended to do this. Leave it blank and click OK.
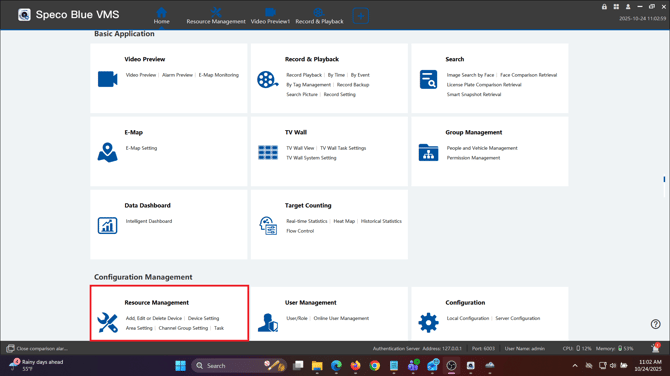
Adding your First Site
- Select Resource Management
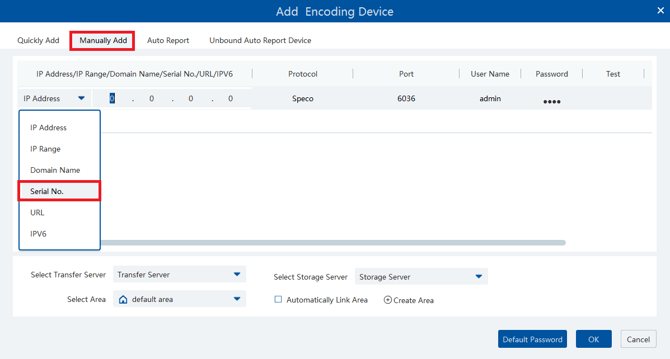
- Select Add

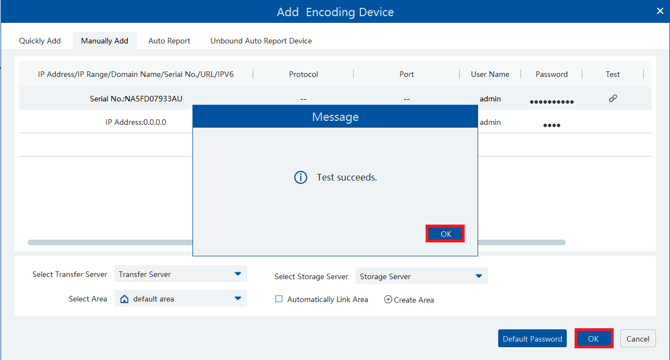
- If your device is on the local network, select it in Quickly Add. If not, select Manually Add and change IP Address to Serial No.
- Enter the QR Code, User Name and Password of the recorder. Then select Test
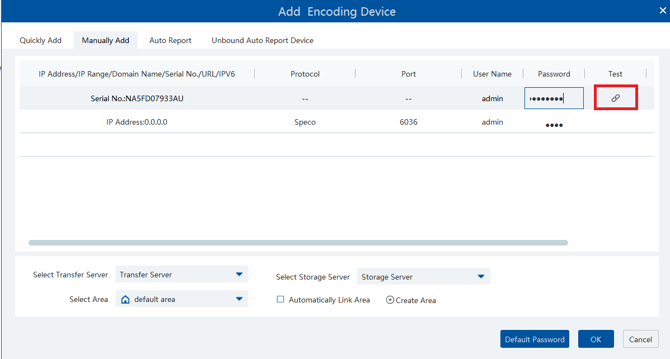
- If test is successful, select OK to add the recorder
Organizing the Camera Tree
- Select Resource Management
- Select Area Settings
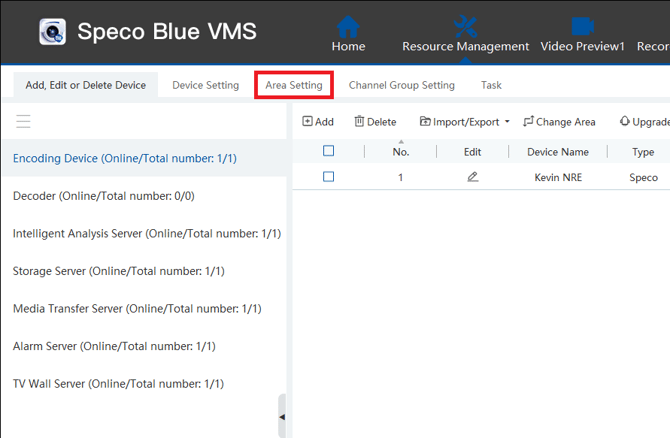
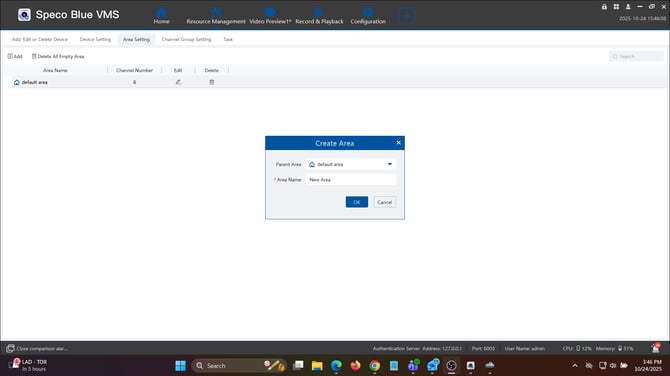
- Select Add
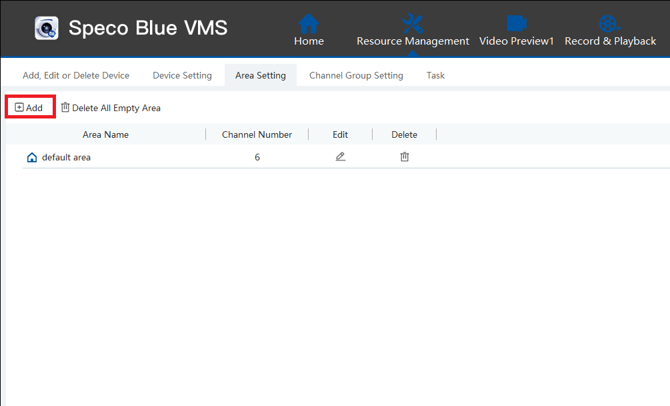
- Enter name of location/area/device under "Area Name"
- Once you create your areas, go back to "Add Edit or Delete Device"
- Select the Edit pencil of the device you want to move
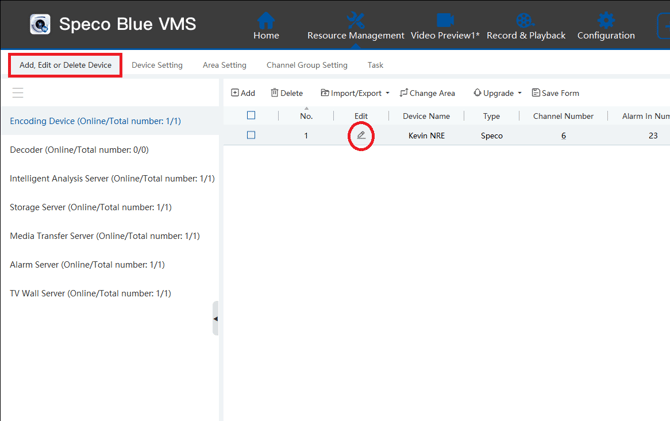
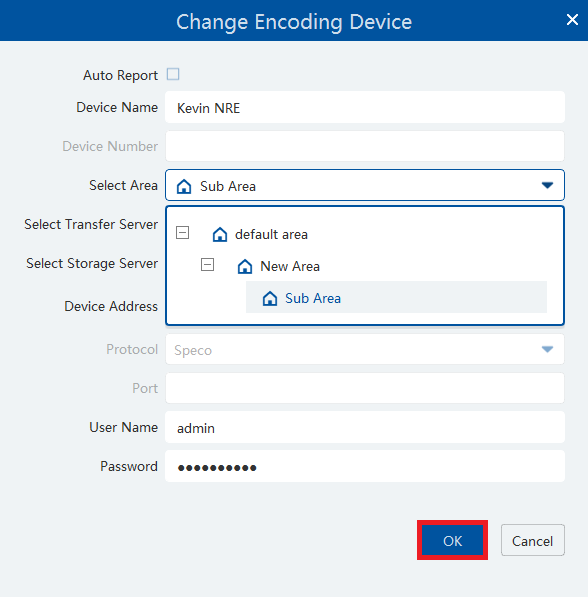
- Select your desired area under the drop down in "Select Area" Hit OK when finished
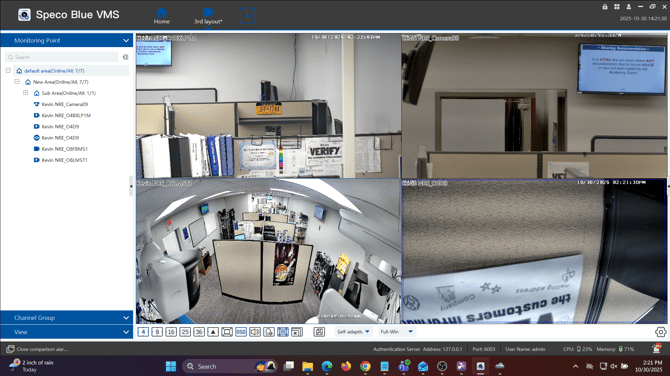
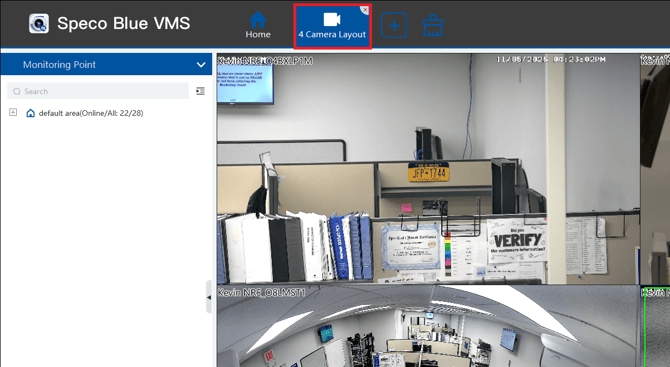
Live View Options
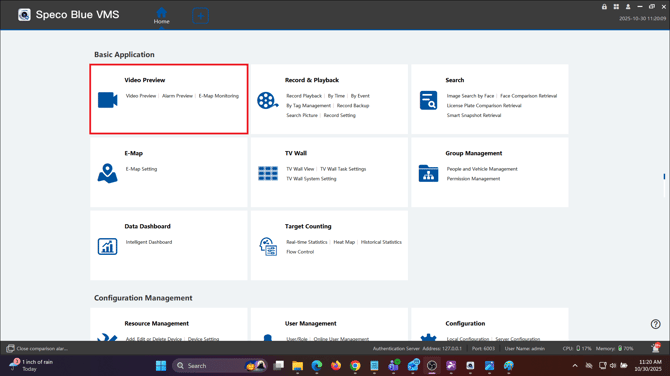
- Select Video Preview
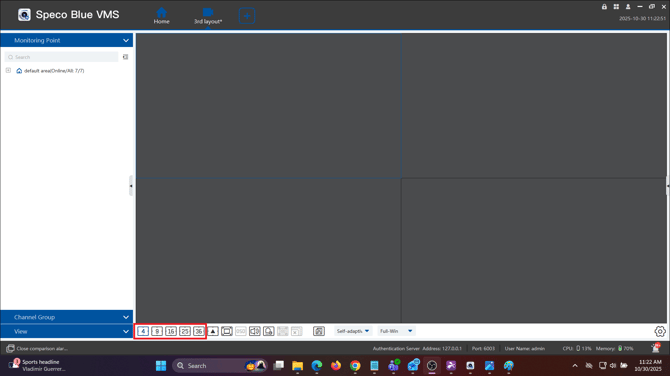
- The bottom number icons will select how many cameras you can view on screen
- To create a custom view, drag and drop the areas or individual cameras onto the screen
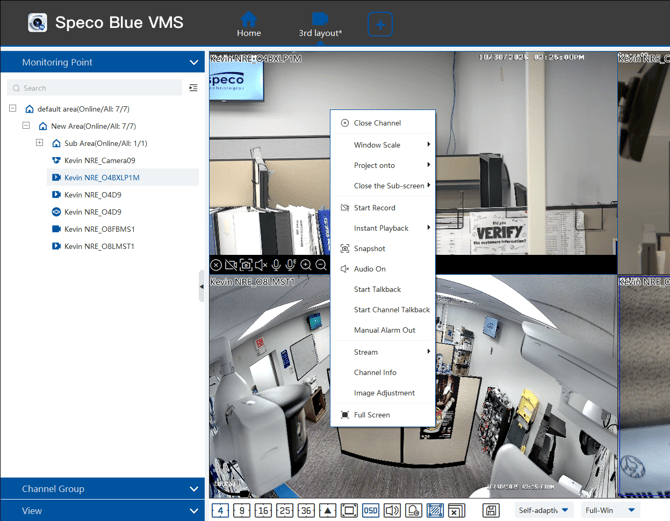
- Right clicking the live image will give your more in depth options on your cameras
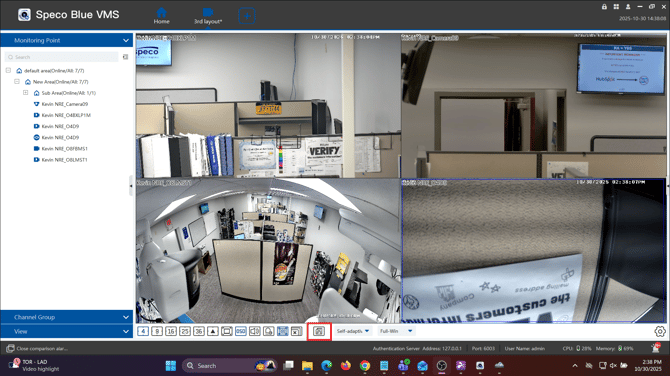
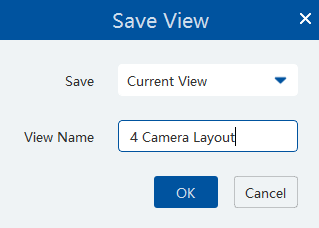
- Click the floppy disk to save the current layout of cameras
- At any time, your tabs can dragged and dropped to a different monitor to allow for a video wall feature
- There are multiple viewing modes to ensure a fluent stream. By default, and recommended is “Self-Adaptive View”.
- If your hardware is not quite up to spec you can change the view to a “Sub / Third stream" to limit hardware resources.
- If your PC meets / exceeds hardware requirements then “Mainstream” can be utilized.

Searching AI
- Select Search
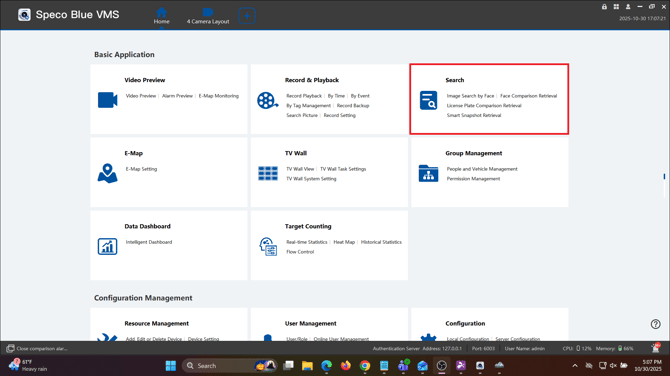
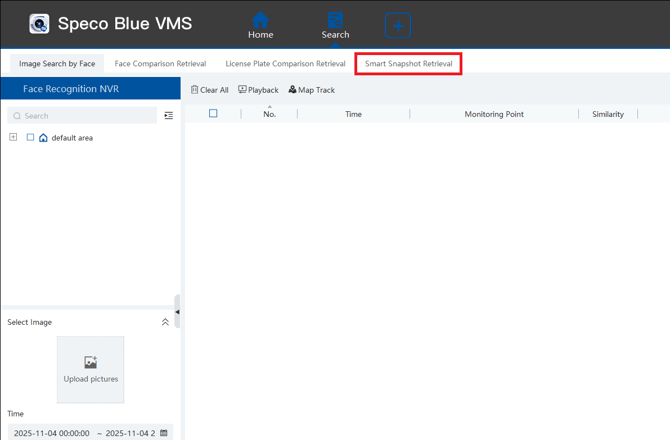
- Select Smart Snapshot Retrieval
- Select between Face, Human, Motor Vehicle and Non-Motor Vehicle for Match Type
- Select your Search Source. Intelligent Server will be used for all searches except for Face

- Select your Monitoring Point, Date and Time, then select Search
- For this to work, Snapshots and Metadata must be enabled in the recorder
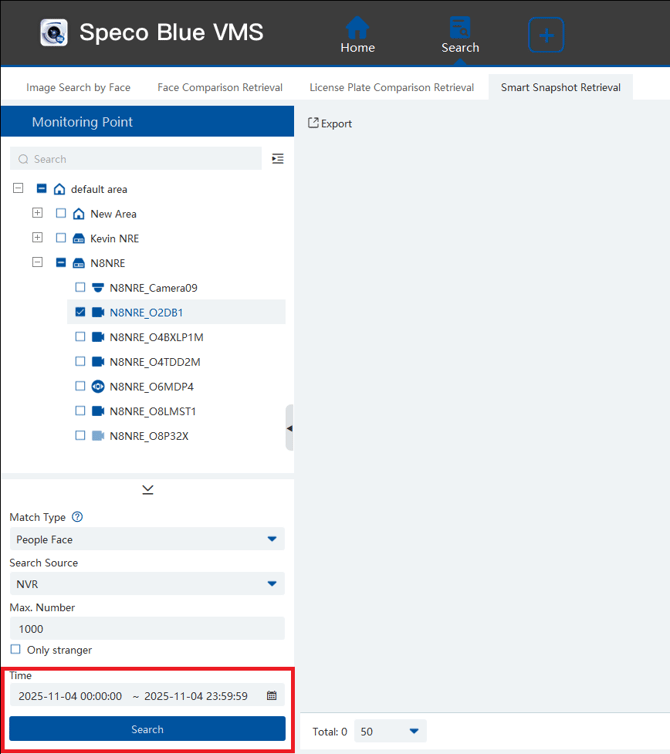
- Any snapshots matching the type you selected during that timeframe will be displayed for you to view
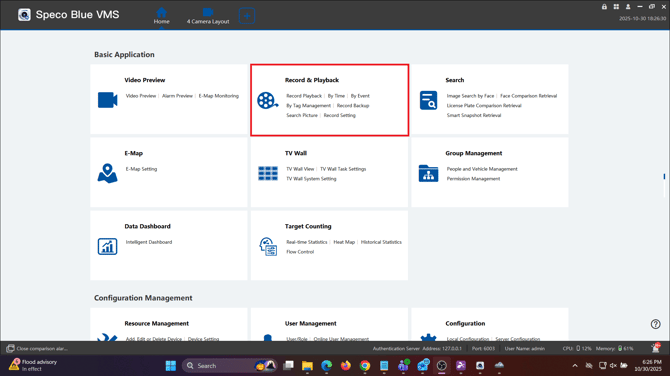
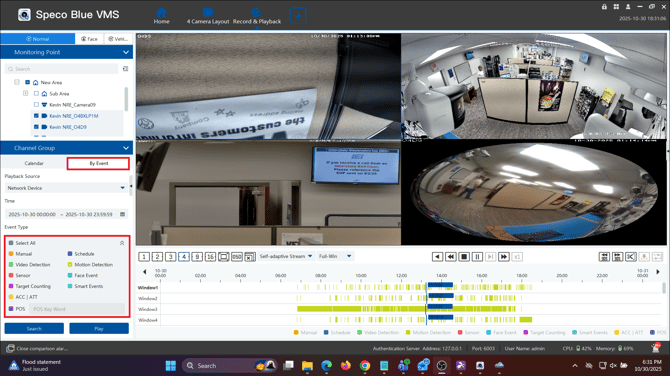
Searching for Recorded Video
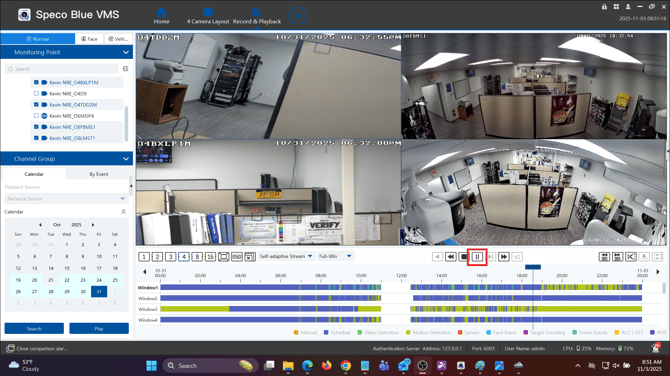
- Select Record and Playback
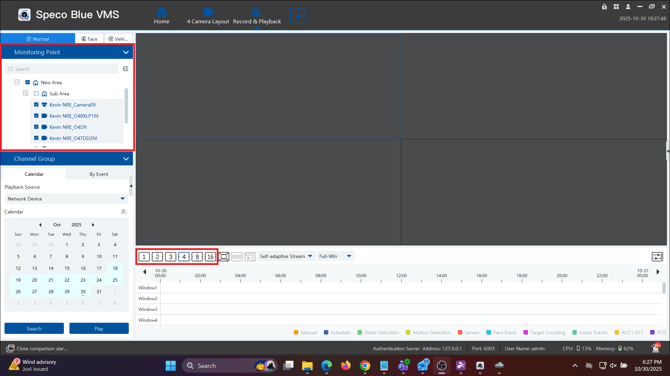
- Select whether you would like Sync mode or A-Sync mode.
- Sync mode will synchronize the time between all your selected channels
- A-sync mode will allow you to select different times for different channels

- Select how many channels you would like to view from. Then select which cameras you would like to view playback from.
- You can select individual cameras or entire areas
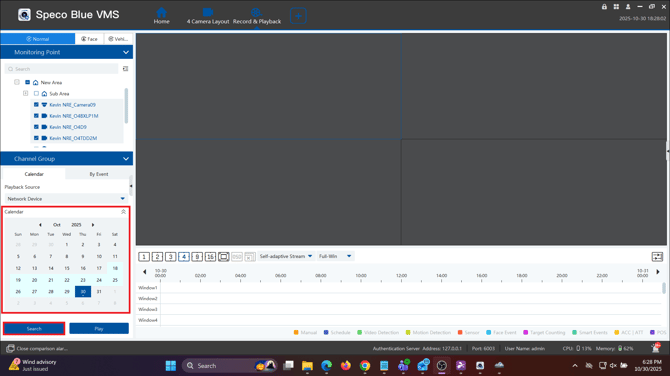
- Select the date you'd like to view footage from, then click Search
- The calendar will appear blue if there is footage on that date
- This will bring up a timeline of the selected cameras on the date you selected
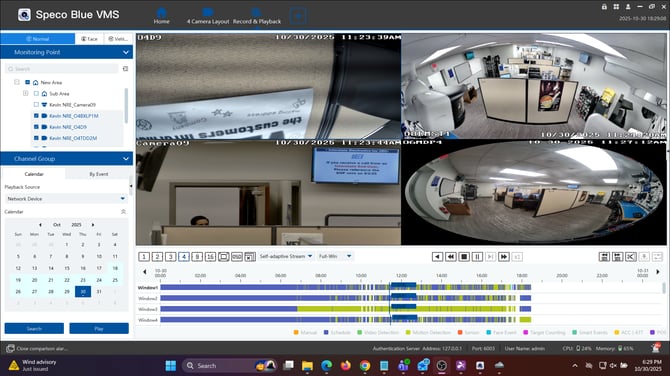
- Select By Event to filter between scheduled, motion detection and/or AI Event recording
- This will only show the events you selected on the timeline
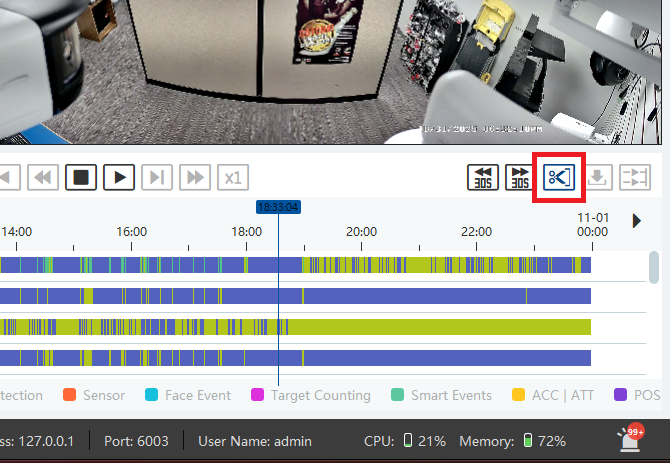
Exporting Video / Clips
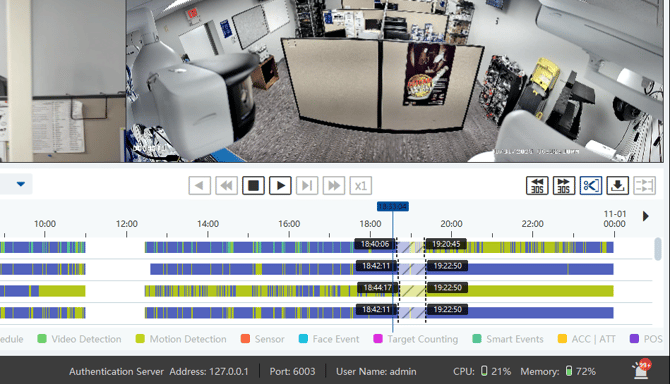
- Select the start of the video where you would like to record and hit Pause
- You can do this on a single camera or multiple.
- Select the Scissor icon, then the location on the timeline where you want to start the clip
- The beginning of the clip will be marked by a dotted black line
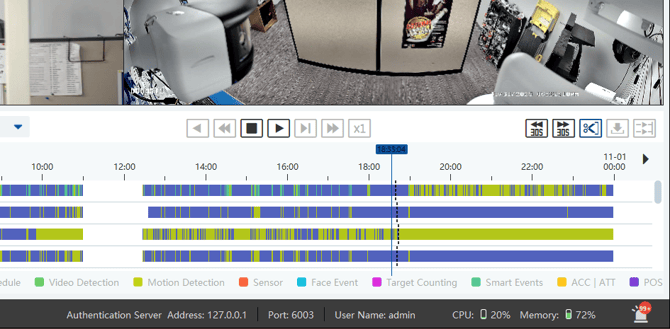
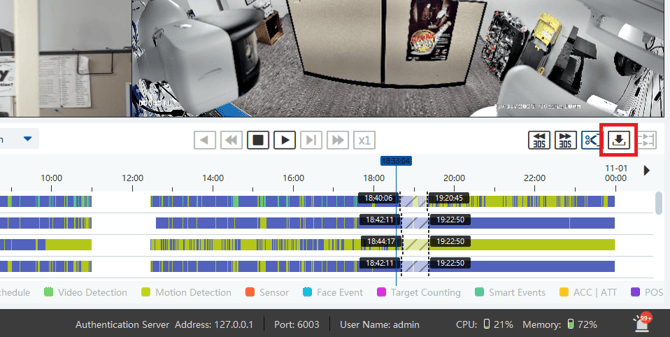
- Select the end of the clip for each camera you are exporting from
- Select the Download button to begin exporting
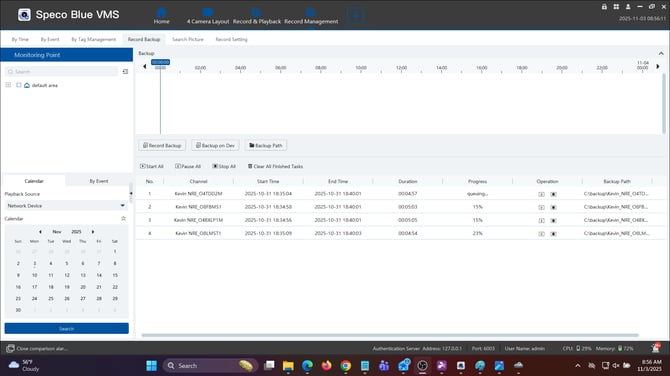
- You will be taken to the record management section, which will show you your downloads progress and what folders they will be downloaded to
Initial submission Date: November 4th, 2025

Article authored by: Kevin Holland, Technical Support Agent - Tier 1